Screen Printing Guide and Tips

The process of screen printing using mesh stencils made with photosensitive chemical emulsions are explained below, with helpful tips for each step to enable any artist (whether novice or expert) to achieve success in screen printing.
1. Choose or Create the Artwork to Be Screen Printed
The best way to prepare artwork to be screen printed is to have it copied onto a transparency. Most copy shops do this for a very small fee. Original artwork can be painted directly onto a transparency or onto any piece of sturdy, clear plastic. Beginners should create simple designs with fairly clear, thick lines since screen printing delicate, fine-lined artwork can be tricky.
The objective is to create what artists call a “film positive” of the artwork, which is 100 percent black on a clear background. Whether it is printed or hand-drawn, the artwork blocks the emulsion on the screen and the emulsion is washed off the design, allowing the ink to pass through the screen and transfer the design onto the T-shirt or other object that is imprinted.
2. Gather the Materials Needed for Screen Printing
Once the artwork to be screen printed has been selected and prepared, it is time to gather the rest of the necessary materials and equipment.
Object to Be Printed
The screen printing can be done on paper, on canvas, or on just about anything made from fabric, like a T-shirt, a tablecloth and napkins, a scarf, a tote bag, or simply a piece of fabric that is framed and hung as art. The object should be clean and ready to absorb the ink.
Screen Frame
The screen frame is usually made of wood and is very tightly covered with a fine mesh material. This is the screen through which the ink is transferred onto the object to be printed. Metal screens are the most durable and stand up to many washings and printings.
Black Paper, Plastic, or Fabric
This flat black object should be large enough on which to place the frame. It is the surface on which the screen is placed to burn the image onto the screen.
Photosensitive Emulsion and Activator
The sensitizer and emulsion come separately and must be mixed together and applied to the screen. Users must make sure to mix enough to thoroughly cover the screen.
Screen Printing Ink
Users need to buy enough screen printing ink to transfer the design to the object being printed. It might be fun to choose several different colors and make several versions of the screen print art.
Squeegee
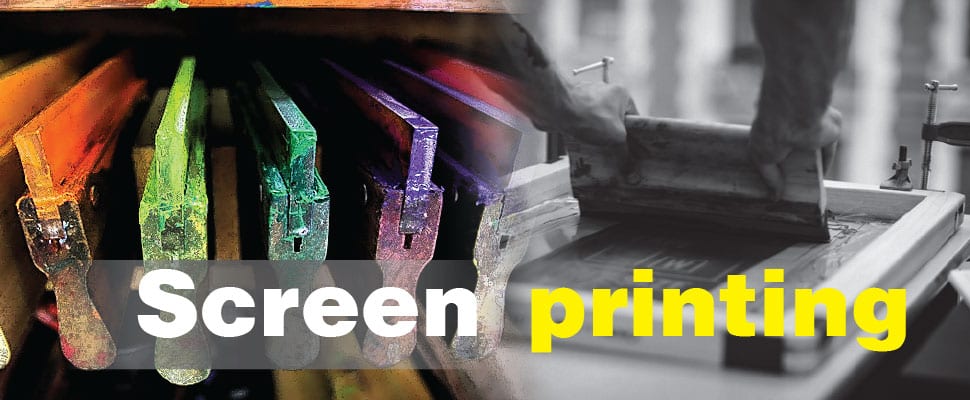
A squeegee is an important tool in screen printing. It is used to apply and spread the ink through the screen onto the T-shirt or other object. Squeegees are available in several different sizes, and they are made from a single piece of vinyl or from a comfortable wooden holder with a rubber blade.
3. Prepare the Frame and Screen
Some people make their own mesh screens for printing by taking an old wooden picture frame and covering it tightly with an organdy silk screen fabric, or even cut-up old gauzy nylon curtains. Users should make sure that the fabric is stretched as tight as possible and is secured thoroughly with a staple gun applied all around the frame. It is important to keep the fabric straight so that the holes in the mesh of the fabric allow the ink to pass through it evenly.
A commercially prepared screen that has already been used should be prepared for printing by washing it thoroughly with a mild abrasive to ensure that none of the holes are clogged with dirt, grease, or previously used ink. The screen should also be allowed to dry thoroughly.
4. Spread the Photo Emulsion onto the Screen
First, users should mix the sensitizer and the emulsion thoroughly according to the directions on the containers. The emulsions are light-sensitive liquid chemicals that are applied to the screen, and they become more sensitive as they dry.
The side of the screen that comes in contact with the object to be printed is known as the substrate side, while the side where the ink is placed and pushed through the screen is called the “inkwell” side. Both sides need to be covered with the emulsion mixture, and it is best to begin on the substrate side. Some people prefer to place the screen on top of a piece of black fabric or plastic. Users should pour some emulsion on the screen and spread it thinly and evenly, making sure that all of the holes are covered.
Next, users should place the screen in a dark place to dry (a closet works well). Some people like to point a fan at the screen to help it dry faster. Users need to make sure that the emulsion on the screen has dried completely, and this can take as little as a couple of hours or as long as overnight.
5. Burn the Image onto the Screen
The next steps are to attach the artwork to the screen and expose it all to light in order to burn the image onto the screen, so that the ink can pass through the screen and be transferred to the object being printed.
Attaching the Artwork
Once the emulsion on the screen is completely dry, users should lay it down on top of a clean piece of black cloth or sturdy paper, with the substrate side facing down and the inkwell side facing up. They should then lay the template with the design on it down on the inkwell side of the screen and attach it with tape. Alternatively, they could also lay a piece of clean glass on top of the artwork, while making sure that the glass is bigger than the design while still fitting inside the frame.
If the emulsion being used is highly photosensitive, it may be best to do this step in a fairly dark room so that the emulsion does not begin to react to the light until the artwork is securely in place.
Exposing the Screen to Light
Next, they should place a lamp with a 200- or 250-watt bulb about a foot or two above the screen. Professional screen printing lamps are also available for purchase, while some people like to take the frame with the artwork attached outdoors so that the UV rays of the sun burn the image. With the exposure to light, the emulsion hardens, and the area of the screen that is covered by the design does not harden. Usually 10 to 15 minutes is enough time for this process to be complete.
6. Rinse the Screen
Once the photosensitive emulsion has hardened, users should remove the artwork and rinse the screen under very cold water. This can be done in a sink, in a shower or tub, or outdoors with a garden hose. The emulsion that was under the design flakes off. It may be necessary to gently rub the area where the emulsion is being removed, using a hand or the scratchy side of a kitchen sponge. Once the screen is thoroughly rinsed, the design should be visible as a see-through part of the screen, like a stencil made out of mesh.
7. Print
For the printing stage, it is a good idea to put masking tape or painter’s tape along the edges of the screen to prevent any sloppy leaks. Users should place the fabric or object to be printed down on some newspapers to protect the surface underneath. It is important to work on a flat surface so that the image is not distorted. If it is a T-shirt that is being printed, users can place some layers of paper or cardboard inside the shirt to prevent the ink from leaking through to the other side of the shirt.
When users are ready to begin the printing process, they can lay the screen down with the substrate side touching the fabric to be printed. Next, they can pour a small amount of ink horizontally across the top of the screen and use a squeegee to pull the ink down across the image, pressing the ink through the screen onto the fabric underneath. They can then move the squeegee up and down and back and forth to ensure that the ink is pressed through the screen thoroughly and evenly. The screen should be held in place, or else the image may not come through crisply. At this point, the artwork should be in printed form.
8. Cure and Clean Up
Some screen printing ink manufacturers recommend “curing,” which is placing the printed object in an oven preheated to 400 degrees F for just about 30 seconds. Other ink makers recommend ironing the back of the printed fabric to help set the ink. Users should be sure to follow the manufacturer’s recommendations on the ink being used.
We hope you have found this guide useful and remember, if you are ever in need of any screen printing services. Imagescapes Embroidery is here to help.


