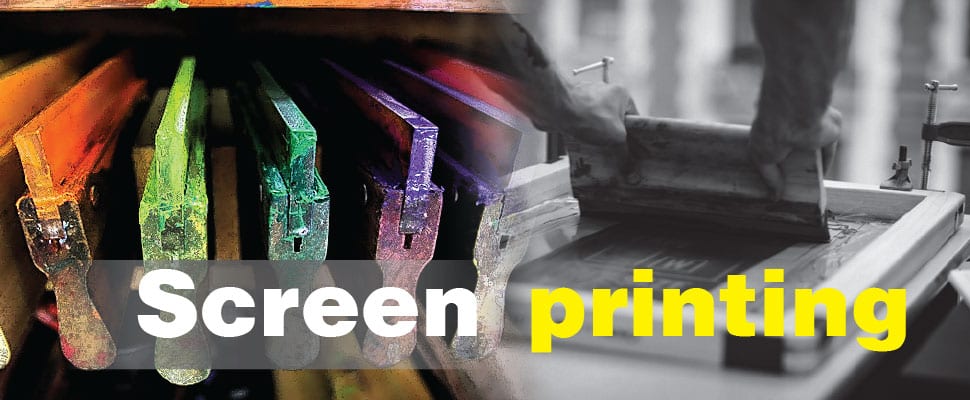
Get Ready and Get Printing: A 10 Step Guide
First, gather the following things on this list which you will need:
- T-shirt
- Scrap fabric or old T-shirt
- A yard of chiffon or voile
- 2 plastic embroidery hoops (10-12 inches)
- A template or drawing
- Paintbrushes
- A dull Pencil
- Masking tape or painter’s tape
- Mod Podge
- Thick acrylic paint
- A plastic gift card or old credit card
- Cardboard and plenty of newspaper and paper towels (this can get messy)
Once you have all of these things, follow this step-by-step guide:
Step #1: Create the Screens
If you are planning to use different colors, you will need on per color. To crate a screen, cut a circle from the chiffon or voile about 4 inches wider than the hoop. Next, stretch the fabric as tightly as you can between the inner and outer hoops and tighten the screw to secure it. Trim any excess fabric, leaving a 1-inch border.
Step #3: Mask the Non-Design Areas
Once you have traced your design, flip the hoop over to the other side. Tape around the design and fill in the space between that border and the hoop with more tape to minimize the amount of Mod Podge needed. Repeat on the other side of the fabric.
Step #4: Apply Modge Podge
Use a fine paintbrush to apply Mod Podge along the lines of the design (with the hoop fabric side up). For larger areas, use a bigger brush. You can check if your blocked areas are completely filled by holding the screen up to the light and dabbing more Mod Podge over any holes you see and flip it to check the other side as well. Holding the frame in one hand, use a clean brush to smooth out any blobs of Mod Podge and avoid touching the wet screen. Finally, place the hoop (fabric side up) and allow to dry for approximately 15 minutes. Again, repeat with each screen for each color.
Step #5: Prepare Your Shirt
Now, it’s time to prep your shirt! Iron out any wrinkles, this will make your screen printing process a lot smoother. In order to keep the paint from bleeding through the back of the shirt, place a piece of cardboard or a few layers of newspaper on the inside. Keep this step in mind with anything that has a second layer.
Step #6: Try a Test Print
To complete this step, place the first frame fabric side down onto a piece of scrap fabric or an old T-shirt. Apply a 1/2 inch thick line of paint across one edge of the design. Next, hold the old credit card or gift card at a 45 degree angle to the screen. While pressing firmly against the screen, scrape the paint across the design.
Step #7: You are Ready to Print!
Finally! (We know, it sure is a process to get to the actual printing part!)
Go over each section of the design only once (overlapping just a little is fine). Carefully lift the screen off your shirt. Make sure to use cold water to rinse the paint from the screens, inspect the print and add Mod Podge or tape to the screen as needed to fill any holes. Repeat with each screen for each color. Allow the Mod Podge to dry.
We recommend that you clean up as soon as you’re done making your prints. Rinse the screens thoroughly to remove the paint. If there are any stubborn bits, rub gently to get rid of them. Once you screens are dry, you can re-apply any tape that may have fallen off.
Step #8: Adding Another Color
If you are using multiple colors, you must first make sure the paint is dry on the first print (this process normally takes about 1 hour) before you can print the next color with the second screen.
Step #9: Set the Print
Once the paints are completely dry, place a sheet of paper or a clean cloth over the design and press with an iron set to the appropriate heat for your fabric.
Step #10: Enjoy!
Congratulations, you have successfully completed your first screen print! Now you can enjoy your beautiful work of art, this is the easiest and best of all the steps (and our personal favorite).
We hope you enjoy this experience and hope you found this article informative and helpful. For more information, please do not hesitate to contact Imagescapes Embroidery and Screen Printing, who is always more than happy to answer any questions you may have or provide you with quality screen printing services!